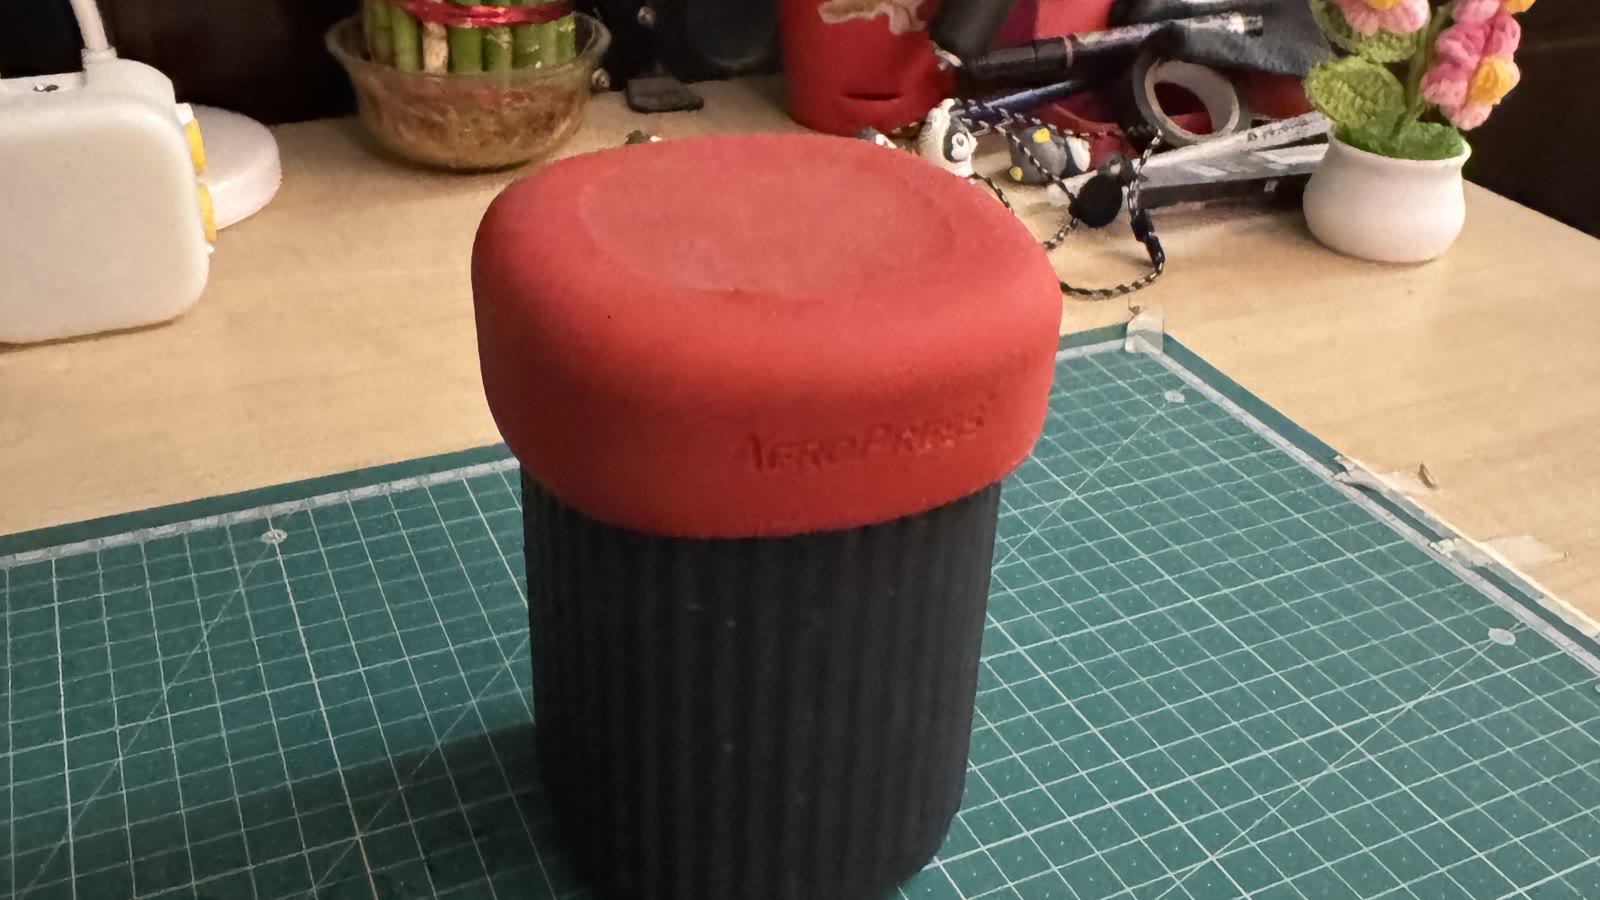
If someone asks me which coffee brewer they should buy first, my answer is usually the AeroPress.
That recommendation is not based on a spec sheet or a week of testing. I have brewed with mine roughly 400 to 500 times, carried it between countries and cities, used it at work, taught colleagues to brew with it, and continued to keep it within reach even after buying V60s, an Origami, a Hario Switch, and an espresso machine.
The AeroPress Go in the photograph above is the same brewer I bought four years ago. The scuffs are part of the evidence.
The AeroPress is not the best brewer at every possible task. It cannot make true espresso. It is not my first choice when I want the highest possible clarity from a delicate light roast. The smaller models are also inconvenient for a room full of people.
But it solves the beginner's actual problem remarkably well: how do I make one consistently enjoyable cup without turning coffee into an equipment project?
Why I bought an AeroPress Go in Brooklyn
I got into home brewing in Brooklyn in 2022. I was watching a great deal of James Hoffmann, following Lance Hedrick while his audience was still much smaller, and reading coffee forums to work out what I should buy.
Pour-over was already familiar territory for many American coffee drinkers. Affordable automatic drip machines had been making batch coffee at home for years, and a V60 felt like a more deliberate version of something people already understood. The AeroPress seemed like the modern step beyond that: compact, manual, flexible, and surrounded by an entire culture of recipes.
I skipped the V60 stage and bought an AeroPress Go. I remember it costing roughly 25 to 30 US dollars at the time, although that is my memory of a 2022 purchase rather than a current price.
Hoffmann once made a video questioning the purpose of the smaller Go. Many viewers disagreed with him, and so did I. The Go was exactly what I wanted. Its brewer, cup, stirrer, scoop, and filters packed into a small unit that I could put in a bag without planning my luggage around coffee.
Good coffee came before the grinder
I did not initially own a grinder.
There was a shop near my flat with two shelves full of coffee. I remember standing in front of bags from roasters such as Counter Culture and Stumptown, comparing coffees priced at very different levels, and trying to decide what to take home. My first bag may have been from Counter Culture, although I cannot say that with certainty now.
The shop ground the coffee for me. That was enough to begin.
I was immediately making coffee that surprised me. Sometimes I drank it black. Sometimes I microwaved milk and used a small battery-operated frother before adding it to the cup. It was not a perfect specialty-coffee setup, but the results were enjoyable enough that I knew the brewer had been a good purchase.
Three months or so later, I bought a Timemore C2 hand grinder. I remember it costing around 50 to 60 dollars, which was a considered purchase for me as a student. Fresh grinding gave me more control and turned the AeroPress and C2 into a compact brewing system.
I could carry both, make coffee before leaving home, and avoid buying another five-dollar cafe cup simply because I was outside. Years later, I took the same combination on a work trip to Vijayawada because I was not confident that I would find the coffee I wanted each morning.
This is still the beginner setup I recommend: one AeroPress, one capable hand grinder, fresh coffee, and a basic scale when the budget allows. Read the beginner's guide to coffee equipment before buying the rest of the coffee internet.
Why the AeroPress is so forgiving
The basic workflow is difficult to misunderstand:
- Put a paper filter in the cap.
- Add ground coffee.
- Add hot water.
- Let the coffee and water spend some time together.
- Press gently into a sturdy cup.
- Eject the puck and rinse the brewer.
That simplicity hides a useful combination of brewing methods. The coffee is immersed in water, then filtered through paper with manually applied pressure. Unlike a V60, the brew does not depend as heavily on holding a precise kettle flow, distributing every pour evenly, or maintaining a tidy coffee bed.
You can still make a weak, bitter, sour, or unbalanced AeroPress. Grind, ratio, temperature, time, agitation, water, and coffee all matter. But the brewer gives a beginner fewer ways to fail dramatically.
Cleanup is equally practical. Press out the compact puck, discard the paper, rinse the cap and seal, and you are mostly finished. That matters on an ordinary workday more than many glamorous equipment features do.
It also became a social brewer
At a previous workplace, I used to make AeroPress coffee in front of colleagues. I showed them the method I was using, they began trying it, and coffee became something we could learn together.
That experience changed how I judge beginner equipment. The ideal first brewer is not merely capable of producing a technically good cup. It should be simple enough to demonstrate, interesting enough to invite experimentation, and approachable enough that another person is willing to try it after watching once.
The AeroPress does all three.
Does the AeroPress only suit dark roasts?
The current official AeroPress signature recipe recommends water at 85°C, or 185°F. That relatively low temperature can work well with darker or more soluble coffee. It also reflects only one starting recipe, not a rule about what the brewer can handle.
I now use my AeroPress more often with light and medium roasts because I usually want to drink those coffees black. With a light roast, I may brew at 92°C, 93°C, or 94°C. Medium roasts are where I have used it most. I can also brew dark coffee with it, but I would not choose my current dark roast over the Blue Tokai Araku Vishalakshi coffee I have at home right now.
The brewer works across roast levels because you can change several variables:
- Grind finer or coarser.
- Use hotter or cooler water.
- Extend or shorten immersion.
- Change agitation.
- Brew a concentrate and dilute it.
- Change the coffee-to-water ratio.
If you are new, start with a medium roast and one repeatable recipe. Once you know what that tastes like, change one variable at a time. The guide to coffee roast levels explains why lighter coffee often benefits from more extraction effort and darker coffee often needs less.
AeroPress compared with other beginner brewers
These comparisons are tendencies, not laws. A recipe can move each brewer towards a different result.
| Brewer | What I notice | Who it suits |
|---|---|---|
| AeroPress | Usually more body and concentration than my V60 brews, paper-filtered, flexible and quick | Someone who wants one adaptable brewer for black coffee, milk drinks, travel, and experiments |
| V60 | Greater clarity and a lighter, more tea-like cup when brewed well, but more sensitive to pouring technique | Someone who enjoys technique and wants separation between delicate flavour notes |
| French Press | Full immersion and heavier texture, with more sediment when using a metal mesh | Someone who wants a simple larger brew and enjoys a fuller cup |
| South Indian filter | Slow gravity-driven percolation that creates concentrated coffee suited to milk and sugar | Someone who enjoys traditional filter kaapi and does not need the AeroPress's recipe range |
AeroPress versus V60
My AeroPress cups generally have more body and less clarity than my V60 cups. I sometimes describe them as muddier, but that should not be mistaken for an unavoidable defect. A paper-filtered AeroPress can produce a clean cup, and a careful recipe can change the texture considerably.
If I want a very light, tea-like coffee and the clearest possible view of individual flavour notes, I am more likely to reach for a V60 or Origami. If I want a dependable cup without thinking about my pouring pattern, the AeroPress is easier.
AeroPress versus French Press
Both use immersion, but the AeroPress paper filter removes far more sediment than a typical French Press mesh. The AeroPress also accommodates finer grinds and shorter recipes without making cleanup miserable.
That does not mean it automatically extracts more coffee. Extraction depends on the complete recipe. It means the AeroPress gives me a wider practical range of grind sizes, contact times, and final concentrations.
AeroPress versus South Indian filter
The South Indian filter relies on gravity-driven percolation through a compact coffee bed. The AeroPress combines immersion with a manually pressurised finish. They produce different textures and suit different rituals.
I would not tell a committed filter-kaapi drinker that the AeroPress replaces the South Indian filter. I would tell a curious beginner that the AeroPress makes it easier to explore many styles with one object.
What it cannot do
Versatility should not become magical thinking.
It cannot make true espresso
Espresso requires the pressure and extraction conditions of an espresso machine. AeroPress itself describes its concentrated recipes as espresso-style rather than true espresso.
You can brew a short, strong concentrate for an Americano or a milk drink. It can be delicious. It is not the same product as a shot from my Gaggia Classic.
The smaller models are not ideal for a crowd
My AeroPress Go is excellent for me and workable when I am sharing with one other person. It is not how I would serve a room.
You can make multiple diluted cups by brewing a concentrate, but if I were buying for an office today, I would consider the AeroPress XL. The company says the XL has twice the capacity of the standard models and can brew two to four cups at once.
It is not the maximum-clarity brewer
If your entire interest is extremely light coffee with delicate, tea-like separation, start by looking at a V60, Origami, or another paper pour-over. The AeroPress can brew light coffee well, but clarity is not the only quality it was designed to maximise.
Go, Original, or XL?
My recommendation is simple:
- AeroPress Go: Choose it if compact travel is a priority and you usually brew for one person. I have never felt that my Go was a compromised purchase.
- AeroPress Original: Choose it if you mostly brew at home and want the standard format.
- AeroPress XL: Choose it if you regularly need more volume or plan to brew for an office or several people.
Do not over-optimise this decision. The Original and Go share the same central idea, and either can remain useful long after you buy other brewers.
Start with the standard method, not the inverted method
I have used the inverted method for years. In that method, the brewer stands on the plunger while the coffee steeps, then the filter cap is attached and the entire brewer is flipped onto the cup.
I have probably spilled it only once or twice across hundreds of brews. That is still enough for me to say clearly: it should not be a beginner's first method. A chamber of hot water can separate from the plunger or spill during the flip, creating a burn risk and a substantial mess.
Use the normal orientation first. It is stable, easy to understand, and officially supported. Inserting the plunger slightly and pulling it back can reduce drip-through without turning the brewer upside down.
If you later choose to invert, learn the standard brewer first, keep the plunger inserted securely, leave enough room in the chamber, use a stable surface, and keep your hands and face away from the path of hot liquid. Convenience is not worth a burn.
A safe first recipe
The manufacturer's current signature method is a sensible place to begin:
- Use a sturdy mug.
- Add a paper filter and secure the cap.
- Add approximately 16 to 18 grams of medium or medium-fine coffee.
- Use 85°C water; if you do not own a temperature-controlled kettle, AeroPress says boiling water is also acceptable.
- Fill to the number 4, stir gently, insert the plunger slightly, and allow a short steep.
- Press with gentle, constant pressure.
- Remember that the filter cap will be hot after brewing.
The exact steep differs in the company's instructions depending on whether the coffee is pre-ground or freshly ground, so follow the current illustrated instructions for your setup.
Once that cup is repeatable, try hotter water with a lighter roast, a longer immersion, a different ratio, or another grind. Change one thing rather than everything. Log the result in Brew Tracker so a useful experiment does not become a vague memory.
The most common mistake: forcing the press
People sometimes press as if their life depends on reaching the bottom quickly. Do not.
AeroPress recommends gentle, constant pressure. Pressing hard increases agitation and flow and can make the result less consistent. It can also make the physical setup less stable. Let resistance tell you to slow down rather than to add your full body weight.
The brewer should feel controlled. If it is extremely difficult to press, your grind may be too fine, the filter may be blocked, or you may simply be pushing too aggressively.
Is it still good value in India?
Coffee equipment has become expensive. I bought my Gaggia Classic for under ₹40,000; I now routinely see substantially higher asking prices for comparable entry-level espresso setups. Imported equipment prices move with retailers, taxes, exchange rates, availability, and model changes, so check current authorised sellers rather than treating an old article price as permanent.
The broader comparison remains useful. An espresso machine also needs a capable espresso grinder, accessories, maintenance, counter space, and time. An AeroPress needs coffee, hot water, filters, and a cup. Add a competent hand grinder when you can, and you already have a system capable of making excellent coffee.
That is real beginner value: not merely a low purchase price, but a tool that does not become redundant when your knowledge improves.
Who should buy one?
Buy an AeroPress if you:
- Want one reliable cup at a time.
- Are new to specialty coffee and do not want a fragile technique.
- Travel or work away from your normal coffee setup.
- Like experimenting with recipes and roast levels.
- Want easy cleanup.
- Drink black coffee but also want the option of a concentrate for milk.
- Plan to buy a grinder gradually rather than build an entire setup immediately.
Consider another brewer first if you:
- Primarily want large batches.
- Want true espresso and steamed milk.
- Care above all else about maximum clarity from delicate light roasts.
- Already love South Indian filter coffee and do not want to change that ritual.
My final recommendation
Buy the AeroPress. I do not think you will regret it.
You may later buy a V60, Origami, Hario Switch, French Press, espresso machine, or something that has not been invented yet. The AeroPress can still remain the brewer you take on a trip, bring to an office, hand to a beginner, or rediscover after months of testing more complicated equipment.
Writing this has made me realise that I have not used mine enough recently. I am almost certainly brewing with it tomorrow.
That may be the strongest recommendation I can give: after hundreds of brews and years of buying other equipment, talking about the AeroPress still makes me want to use it again.